TrueK8S Part 01
This is a story about how I ended up running Kubernetes in my homelab
Like many homelab stories, this one began with something simple and spiraled out of control. About a year ago, I set out to run Jellyfin on my NAS, a box I named Sesa running TrueNAS scale. Running jellyfin on TrueNAS made sense to me because the box was very underutilised and I wanted to store everything on the NAS anyway. Looking around online, I found a repository of apps for TrueNAS called TrueCharts…
I became a quick fan of the TrueCharts project because they had the app I was looking for and many other apps I didn’t even realise I needed yet. Better yet, all of those apps came in a consistent package with built-in features like automated certificate management, built-in VPN, VolSync and CNPG backups, homepage integration, etc… I read the docs, spun up jellyfin and a couple other apps and went on my way.
I was happy with my TrueCharts apps right up until I heard the news that TrueNAS was dropping it’s built-in kubernetes backend for applications. At that point I didn’t really know anything about Kubernetes, just that my apps were working but no longer would. Reading around, I heard that all the truecharts guys moved to another kubernetes platform, Talos Linux.
Part of me thought about abandoning truecharts and just spinning up the apps I wanted the ‘old fashioned’ way by manually installing them on linux VMs and calling it a day. But that would mean accepting that Kubernetes was ‘too hard’ for me and I just can’t stomach that. I decided to follow the TrueCharts project over to Talos Linux, and challenge myself to actually learn and understand the underlying concepts of the apps that I was running.
This will be a multi-part series of posts documenting what I’ve learned in a How-To format that I wished was available when I was building my own Kubernetes cluster.
In part one of this series, I’ll describe how I built my Talos Cluster.
Disclaimer
❗ I am not affiliated with TrueCharts and this is not an official guide on how to deploy TrueCharts apps. This is my own guide of how I built my own kubernetes cluster, which I mostly use to run TrueCharts apps. If you’re looking for a guide on how to deploy truecharts the right way you should go read their docs. If you’re looking to learn about Kubernetes from my example, read ahead.
Prerequisites
To follow along, you’ll need a couple things that (might) cost real life money. Those are:
- A public domain
- A cloudflare account (Free tier is fine)
- An S3 storage account (I’ll be using backblaze)
Acquire the install media
We’re going to build a talos linux cluster with three members. I’ll be using Proxmox to run the talos on VMs, following the guide here.
Go ahead and make yourself a folder for this, you’ll have a lot of files to manage. I’ll be using ~/Documents/truek8s-talos.
The first step is acquiring the install media using Talos image factory. We’ll be using a storage solution that requires the util-linux-tools and iscsi-tools extensions, and I also want to include the qemu guest agent. To build our own install media with those extra bits we can create a schematic and then post it to Talos image factory. (This is described here)
Create a baremetal.yaml file describing the extensions we want to add. Don’t worry about version yet, because that’s independant of the configuration.
# bare-metal.yaml
customization:
  extraKernelArgs:
    - net.ifnames=0
  systemExtensions:
    officialExtensions:
      - siderolabs/util-linux-tools
      - siderolabs/iscsi-tools
      - siderolabs/qemu-guest-agent
Now POST that file to the image factory, and it will return a schematic ID. Note that the same config always returns the same ID, so you can skip re-creating the schematic once you have this ID.
$ curl -X POST --data-binary @bare-metal.yaml https://factory.talos.dev/schematics
{"id":"82866c01b2842b490c27a6f1a4996aae05f096c83db40ecda166b03da9deae46"}
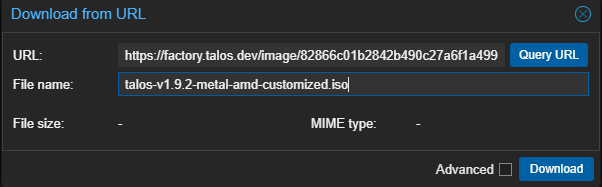
Now we can retrieve our boot media from the image factory using that schematic ID. The version is specified separately from the schematic, so you can re-use that config with different versions. I’m running V1.9.2 for this guide, so I’ll call this URL.
https://factory.talos.dev/image/82866c01b2842b490c27a6f1a4996aae05f096c83db40ecda166b03da9deae46/v1.9.2/metal-amd64.isoCreate VMs
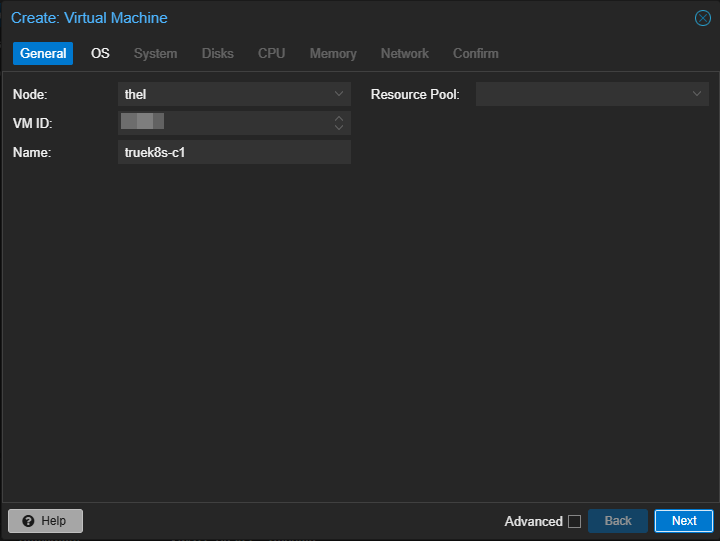
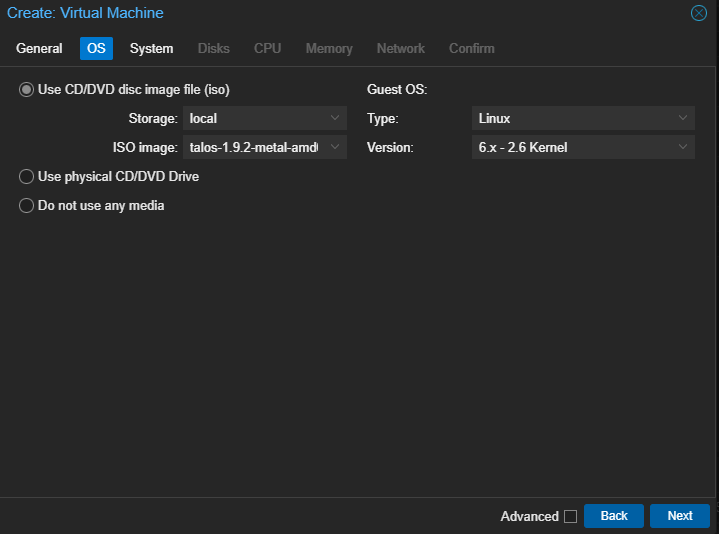
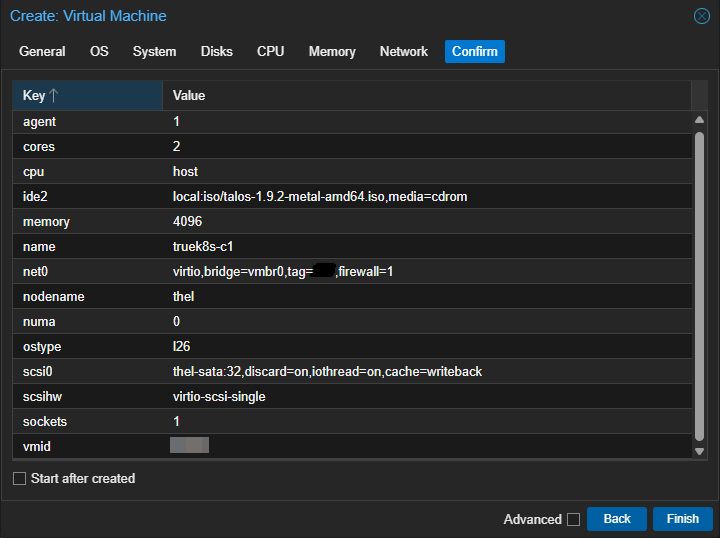
Now you can go to your ProxMox (or whatever) host and download that ISO.
I’ll be creating three hosts:
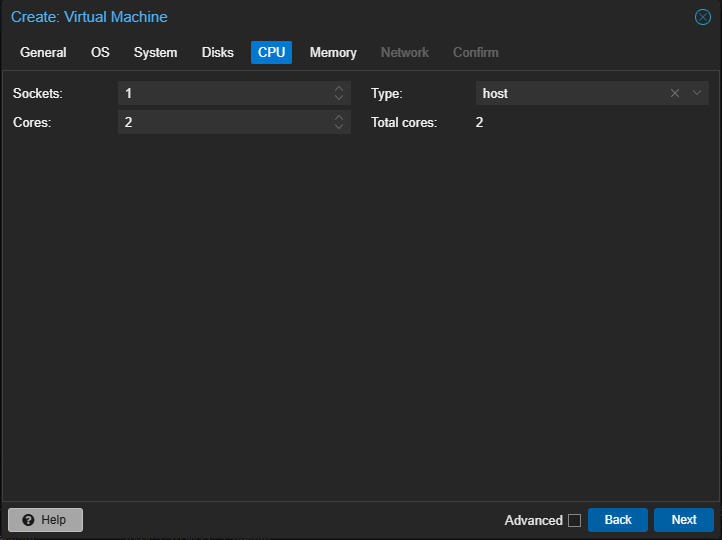
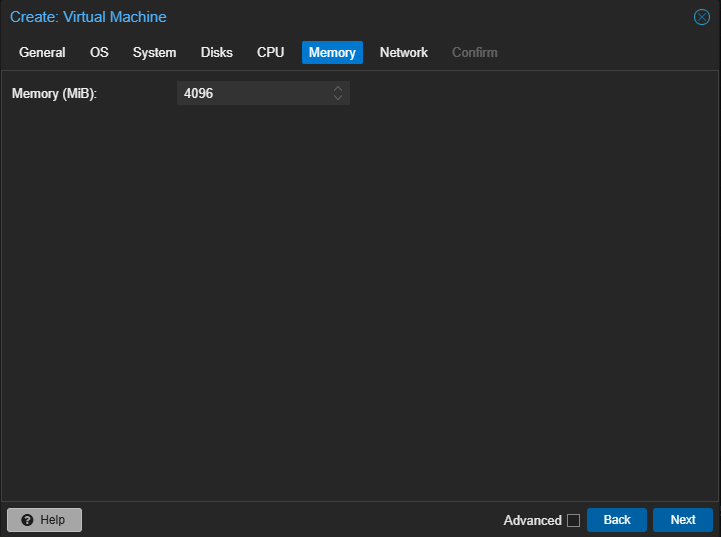
- 1 controller (2 CPU, 4GBs of RAM, 32GB storage)
- 2 workers (4 CPU, 8GB of RAM, 512GB storage)
CPU and memory is easy enough to change later, but storage will be hard to increase, so make sure you start with plenty.
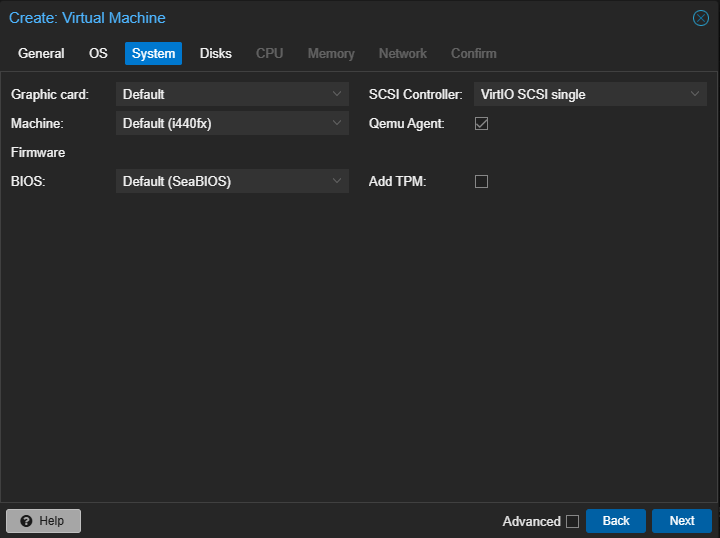
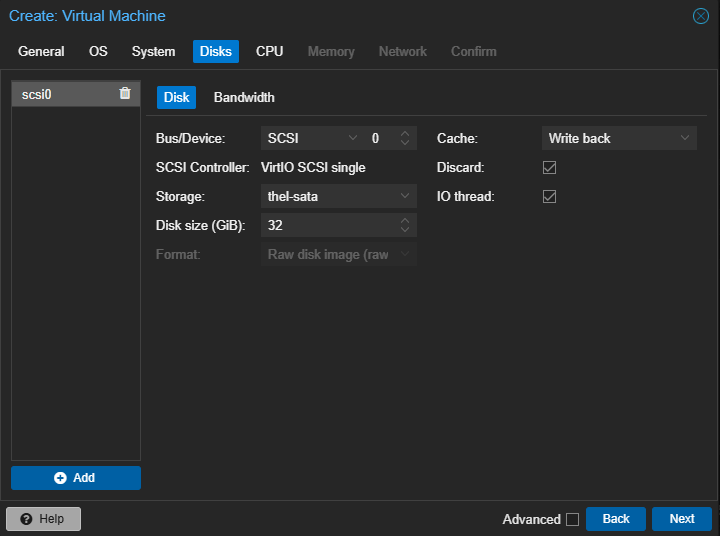
The default options for a new VM are good enough, just make sure to enable the QEMU agent (you can enable it later if you forget). I also choose to use writeback cache and use the ‘host’ CPU type.
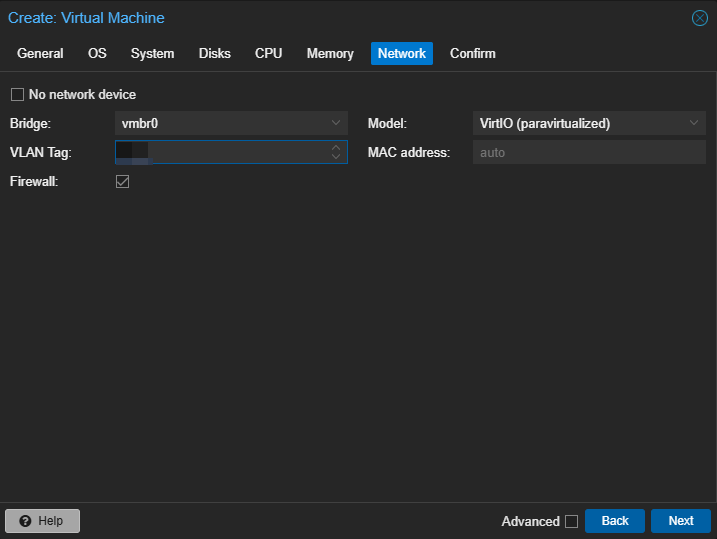
My lab environment uses vlan tagging and the vlan id is redacted for privacy.I will also create DHCP reservations for these hosts before turning them on, just to make IPs predictable. These hosts will get a DHCP address and then make that static by default, so manage your networking accordingly.
Once your machines are configured, go ahead and fire 'em up. Make sure that they all come online and grab an IP that you like.
(Note: if you’re like me and goof up a lot, it may be helpful to snapshot these machines in their ‘untouched’ state before moving on in case you want to try again)
Configure the Cluster
Once the machines are online, we’re going to configure them using talosctl from another computer on the network. I’ll be using Debian. You /can/ use Windows, but if you were the type of person to do that, you probably would’ve stopped reading by now.
Install talosctl on your admin workstation
curl -sL https://talos.dev/install | shNow we’re going to generate machineconfig files, edit them, and apply them to our new talos nodes. Make sure you’re in the directory you created earlier.
We’re going to use talosctl machineconfig against our new controller to generate our starting config files. We’ll reference the schematic ID we generated earlier to make sure our config is consistent
# Save your nodes IPs as variables, you'll need them later
export CONTROL_IP=192.168.XX.101
export WORKER1_IP=192.168.XX.111
export WORKER2_IP=192.168.XX.112
export CLUSTERNAME=truek8s

#Note we're re-using the schematic ID from earlier, but not the whole url
talosctl gen config $CLUSTERNAME https://$CONTROL_IP:6443 --install-image factory.talos.dev/installer/82866c01b2842b490c27a6f1a4996aae05f096c83db40ecda166b03da9deae46/:v1.9.2

generating PKI and tokens
Created /home/truek8s/Documents/truek8s/clusterconfig/controlplane.yaml
Created /home/truek8s/Documents/truek8s/clusterconfig/worker.yaml
Created /home/truek8s/Documents/truek8s/clusterconfig/talosconfig
Now we need to modify those configuration files. You could modify them directly using a text editor like Nano, but the cool way to do it is by using a patch file. I like using patch files because they can be re-used later, and I probably went through this process like 10+ times trying to figure things out.
We’ll use the patch to reference our schematic once more, set the machine name, tweak cluster networking. We’ll also include some extensions that will be required by our storage provider, Longhorn (more on that later).
Create three .patch files in your clusterconfig directory:
- truek8s-c1.patch
- truek8s-w1.patch
- truek8s-w2.patch
The only thing that differs between them is the machine.network.hostname field
machine:
  kubelet:
    clusterDNS:
       - 172.XX.0.10
    extraMounts:
    - destination: /var/lib/longhorn
      type: bind
      source: /var/lib/longhorn
      options:
        - bind
        - rshared
        - rw
  network:
    hostname: truek8s-c1
  install:
    image: factory.talos.dev/installer/82866c01b2842b490c27a6f1a4996aae05f096c83db40ecda166b03da9deae46:v1.9.2
cluster:
  network:
    dnsDomain: cluster.local # The domain used by Kubernetes DNS.
    # The pod subnet CIDR.
    podSubnets:
      - 172.XX.0.0/16
    # The service subnet CIDR.
    serviceSubnets:
      - 172.XX.0.0/16
NOTE: you do not have to define the podSubnets, serviceSubnets, and clusterDNS like I did, but I did so to prevent routing errors that I encountered in my own environment.
And now we’ll use these patches with talosctl to generate our config files. Be careful not to mix up the controller and worker config files when patching. At least twice I made that mistake and built a cluster of 3 controllers then had to restart.
Run machineconfig patch with your patch, reference the ‘base’ yaml config, and specify your unique output. the output is the config you will apply to the node.
$talosctl machineconfig patch controlplane.yaml --patch @truek8s-c1.patch --output truek8s-c1.yaml
$talosctl machineconfig patch worker.yaml --patch @truek8s-w1.patch --output truek8s-w1.yaml
$talosctl machineconfig patch worker.yaml --patch @truek8s-w2.patch --output truek8s-w2.yaml
With all of your config files created, you can start configuring the cluster. Starting with the controller, we’ll apply the config with talosctl. Keep your controller console running while you run this command, because as soon as you do you’ll see the machine start working to apply the config.
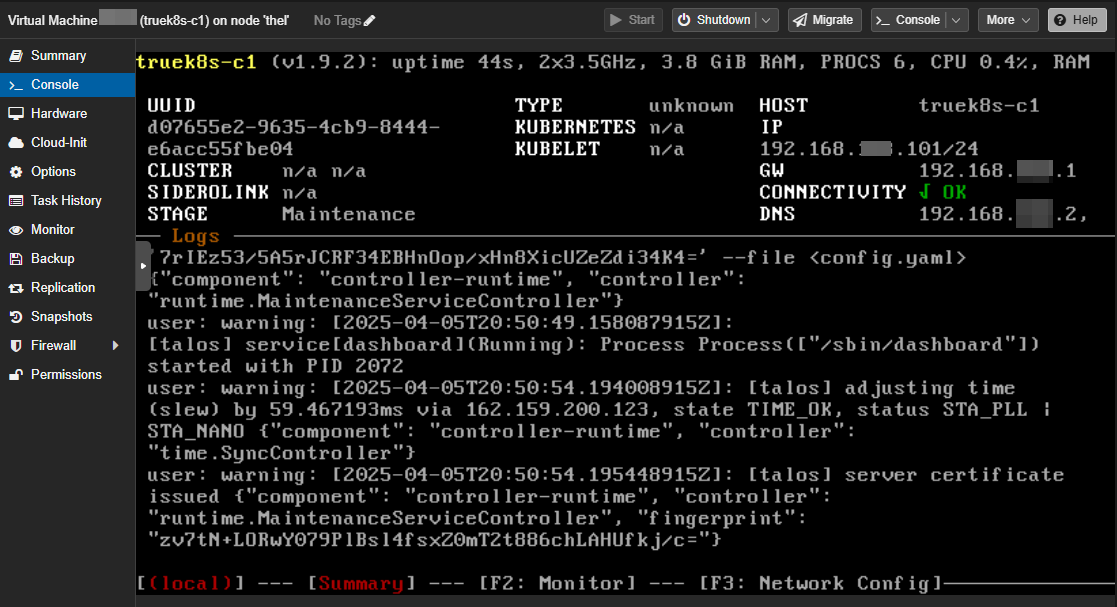
$talosctl apply-config --insecure -n $CONTROL_IP --file truek8s-c1.yaml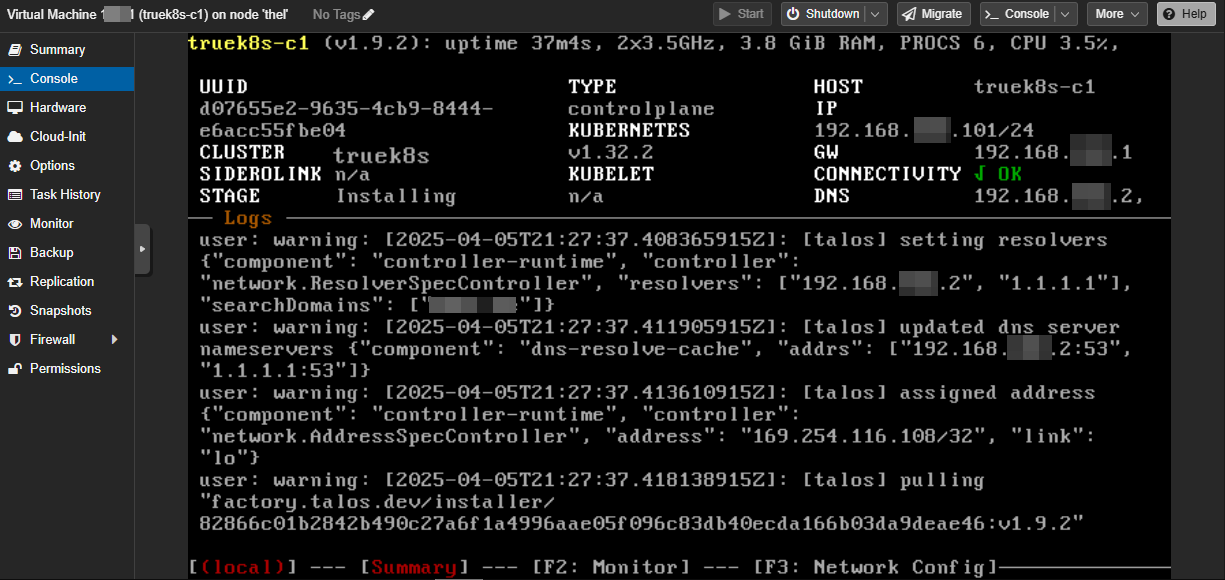
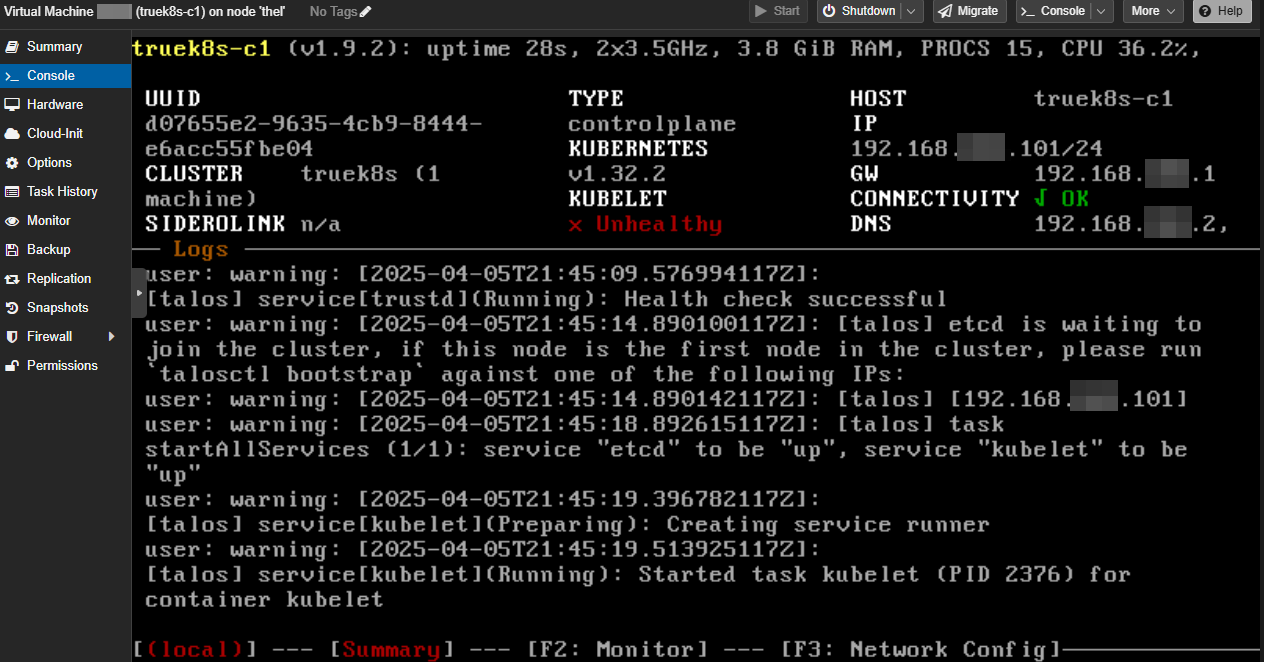
The controller will reboot, and you should see the Please run talosctl bootstrap message.
Once the controller shows this message, you can apply the config to your workers:
talosctl apply-config --insecure -n $WORKER1_IP --file truek8s-w1.yaml
talosctl apply-config --insecure -n $WORKER2_IP --file truek8s-w2.yaml
Then wait for them to reboot and show healthy:
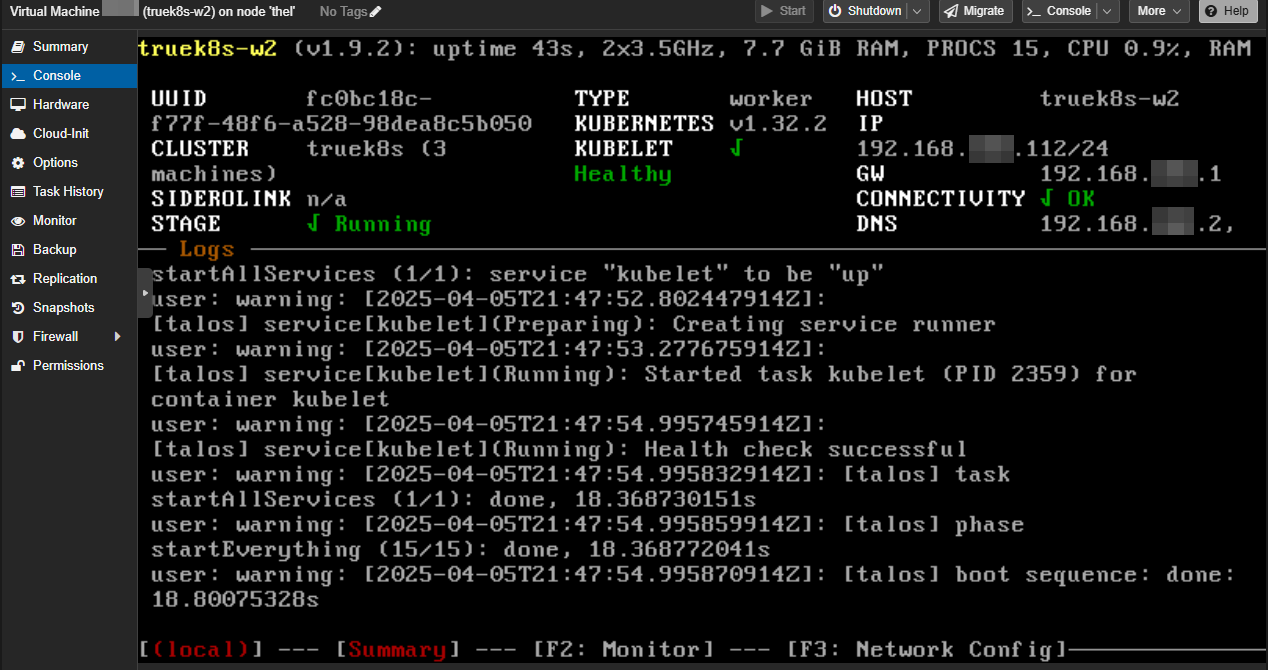
When all three are back up and show healthy, you can finalize the install by bootstrapping the cluster:
talosctl bootstrap --nodes $CONTROL_IP --endpoints $CONTROL_IP --talosconfig talosconfigCreate your own talosconfig file so that you can use the talosctl command to interact with the cluster. Just copy it from your clusterconfig directory to ~/.talos/config and specify the controller IP as the endpoint
mkdir ~/.talos
cp talosconfig ~/.talos/config
nano ~/.talos/config

truek8s@debian02:~/Documents/truek8s/clusterconfig$ cat ~/.talos/config
context: truek8s
contexts:
    truek8s:
        endpoints: [192.168.XX.101]
###################
###################
###################
Test talosctl out by running the dashboard. If all is well, you should see the same dashboard you see on the VM console.
talosctl dashboard -n $CONTROL_IP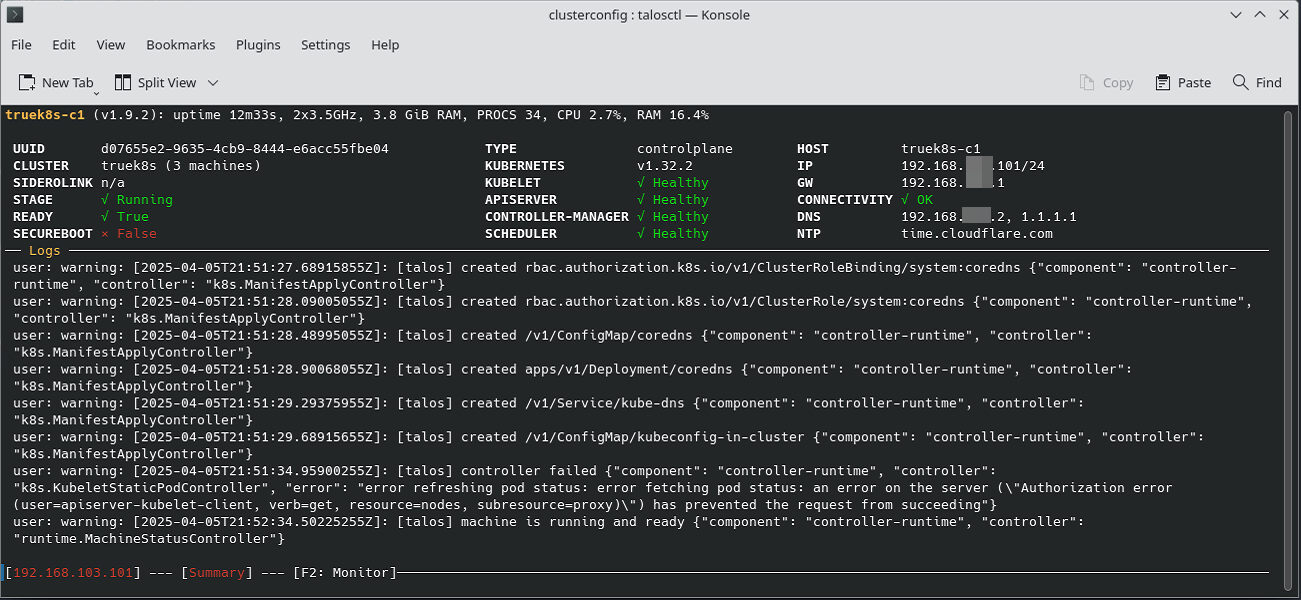
Configure and Test Kubernetes
Now that the cluster is up, you need to grab a kubeconfig from it, and you’ll be ready to go. Use talosctl to generate the config file (this will automatically put it in ~/.kube for you)
talosctl kubeconfig -n $CONTROL_IPIf you don’t already have kubectl installed, install it. The best way to do so is to install through your distro’s package manager because you’ll get autocomplete support and automatic updates. Failing that, install it manually:
$ curl -LO "https://dl.k8s.io/release/$(curl -L -s https://dl.k8s.io/release/stable.txt)/bin/linux/amd64/kubectl"
$ sudo install -o root -g root -m 0755 kubectl /usr/local/bin/kubectl
Run kubectl to interface with your new cluster. If these commands come back, everything is good to go.
truek8s@debian02:~/Documents/truek8s/clusterconfig$ kubectl get nodes
NAME         STATUS   ROLES           AGE     VERSION
truek8s-c1   Ready    control-plane   8m24s   v1.32.2
truek8s-w1   Ready    <none>          8m36s   v1.32.2
truek8s-w2   Ready    <none>          8m24s   v1.32.2
truek8s@debian02:~/Documents/truek8s/clusterconfig$ kubectl get pods -A
NAMESPACE     NAME                                 READY   STATUS    RESTARTS       AGE
kube-system   coredns-578d4f8ffc-v4g4p             1/1     Running   0              8m41s
kube-system   coredns-578d4f8ffc-wk2dr             1/1     Running   0              8m41s
kube-system   kube-apiserver-truek8s-c1            1/1     Running   0              7m56s
kube-system   kube-controller-manager-truek8s-c1   1/1     Running   2 (9m3s ago)   7m56s
kube-system   kube-flannel-khxjs                   1/1     Running   0              8m39s
kube-system   kube-flannel-lcw24                   1/1     Running   0              8m27s
kube-system   kube-flannel-lj5t7                   1/1     Running   0              8m27s
kube-system   kube-proxy-65rm7                     1/1     Running   0              8m27s
kube-system   kube-proxy-75zbk                     1/1     Running   0              8m27s
kube-system   kube-proxy-qxn9g                     1/1     Running   0              8m39s
kube-system   kube-scheduler-truek8s-c1            1/1     Running   2 (9m3s ago)   7m56s
Up Next
In part 2, we’ll configure FluxCD to manage our cluster.
Sources
- talos.dev: Customizing the Talos Linux immutable root file system.
- talos.dev: Creating Talos Kubernetes cluster using Proxmox
- talos.dev: Creating customized Talos boot assets, disk images, ISO and installer images.
- talos.dev: Install Talos Linux CLI
- longhorn.io: Talos Linux Support
- hackmd.io: Install Longhorn on Talos Kubernetes
- calebcoffie.com: Part 3: Adding Longhorn for Persistent Storage on Our Talos-Powered Kubernetes Cluster
- kubernetes.io: Set up Kubernetes tools on your computer